
Reversible Tote Bag Tutorial

What You Will Need
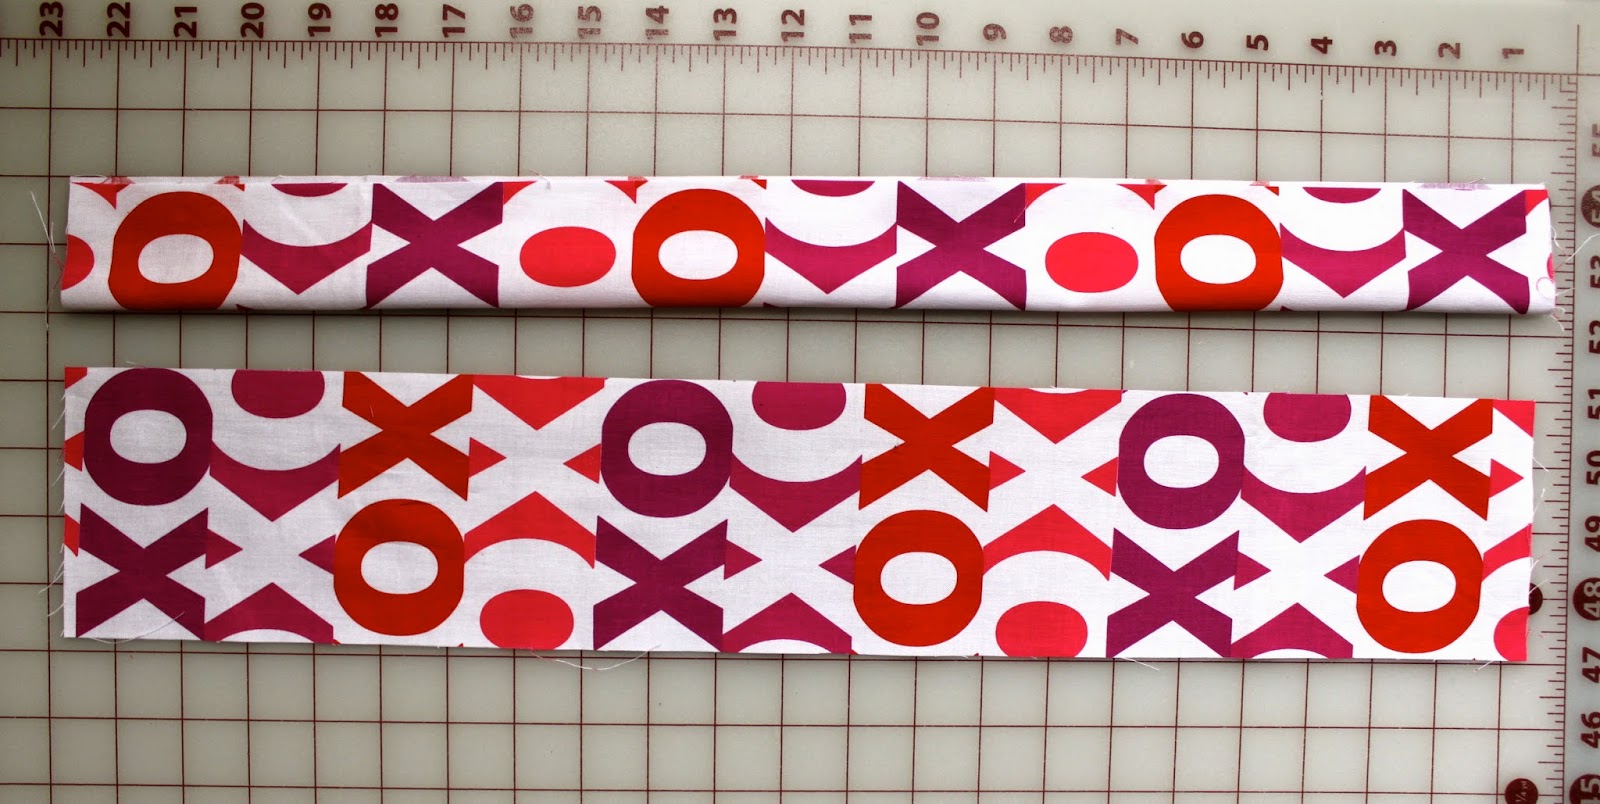
2 Pieces of fabric for the exterior measuring 15" x 16 1/2"
2 Pieces of contrasting fabric for the interior measuring 15" x 16 1/2"
2 Pieces of coordinating fabric for the straps measuring 4" x 22"
*These measurements are just suggestions. Make the bag any size you like. Use fabric that you already have lying around. Also, for the straps, you could use cotton or polyester webbing. The width of the handles is up to you, the length should still be around 22" for each handle.*
Assembly
Cut out your fabric pieces according to the measurements above. You should have something like this:

Fold one of the strap pieces in half lengthwise and press.

Open up strap piece. Fold bottom half up to center fold mark and press. Repeat with top.


Fold strap piece in half and press.


Repeat with other strap piece. Your straps should look like this now.

Stitch straps along each side.


Pin strap ends to top of exterior fabric pieces. Fold each exterior piece in half and mark the top center with a pin. Measure 4" from the center each way and pin the strap handles to the top like this:


Stitch straps in place using 1/2" seam allowance.


Your pieces should look like this now.


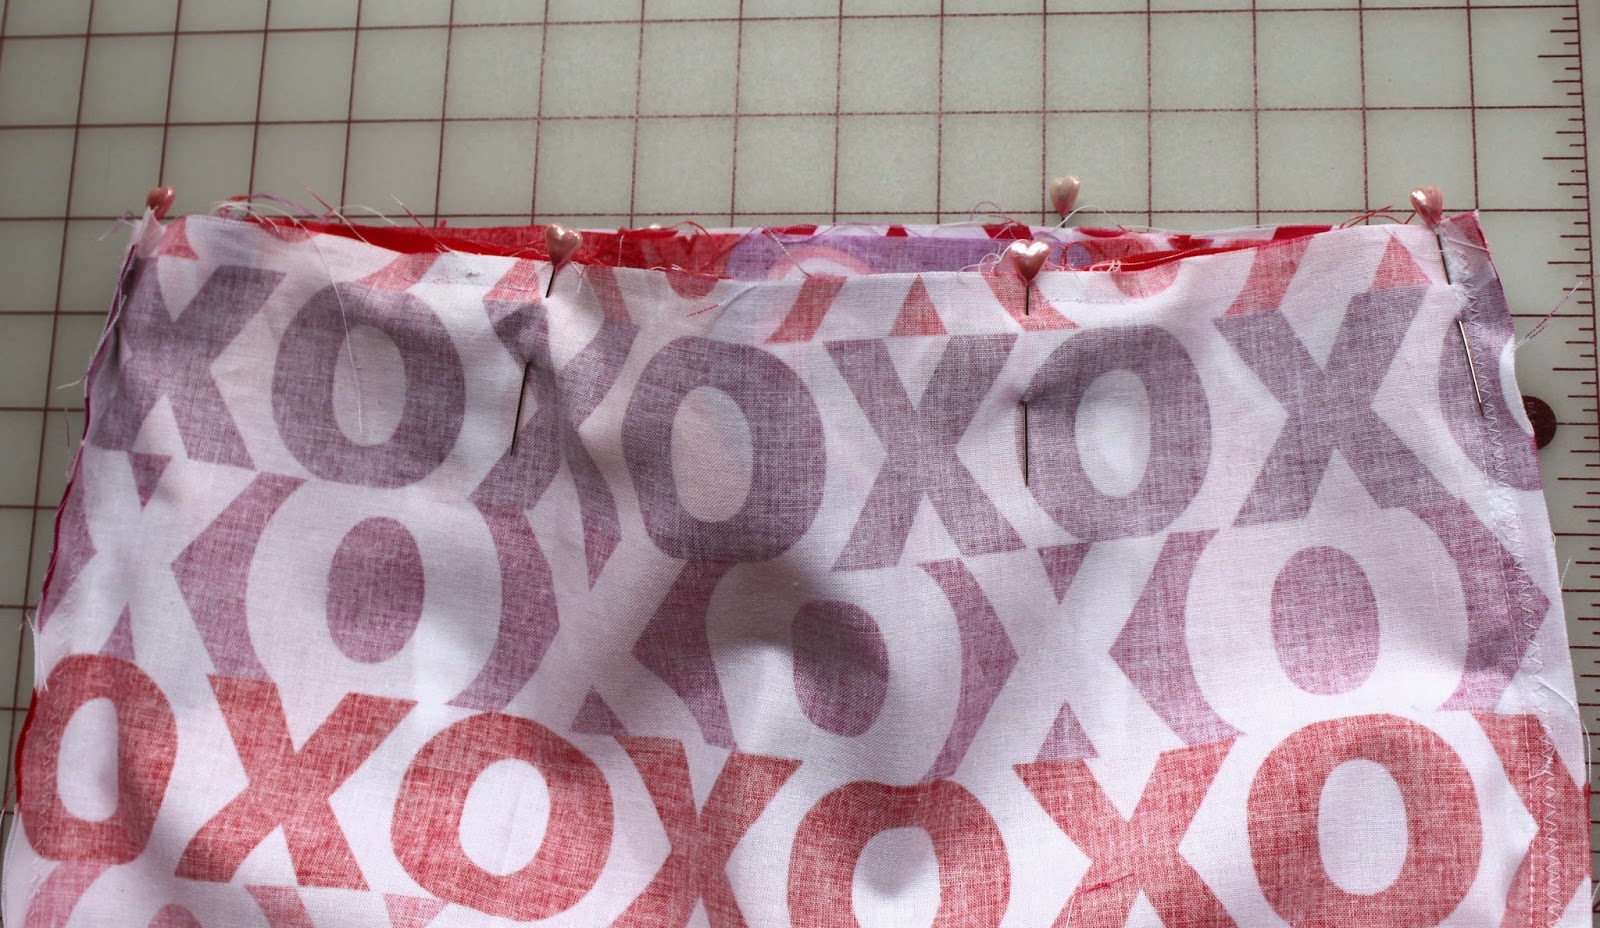
Place pieces right sides together, leaving straps inside.

Pin around sides and bottom leaving top open

Stitch around sides and bottom using 1/2" seam allowance. Leave top open.

Place interior fabric pieces right sides together and sew around sides and bottom with 1/2" seam allowance. Leave top open.

Make bag bottom pleats on exterior and interior bag pieces. Pinch the bottom corner of bag together and measure 1 1/2" from the corner. Pin, mark and stitch.


Trim off extra fabric/seam allowance on both bag corner pieces.


I like to go back and zig zag stitch around the corners, sides and bottoms. This will help keep the fabric from fraying. The bag is machine washable so you can keep it forever! Yay :)

Turn bag interior right side out. Leave bag exterior inside out. Now it looks like this! Getting closer :)


Insert bag interior to bag exterior. Right sides together. Line up seams and pin the top together leaving an opening between the handles on one side for turning.


(sorry for the blurry photo here)

Stitch around bag top with 1/2" seam allowance. Remember to leave the opening between the handles on one side so you can turn the bag.

Turn the bag right side out through the opening.


TA DA!!! You are finished! Congratulations! You are now the proud owner of your very own handmade custom tote bag!! Yay :)


Now you can give the bag to your husband and ask him to fill it with wine and goodies from the market for you!! =)


Nice market bag, Shelly!
ReplyDeleteAnd lovely fabric :)
If only a reversible tote was enough to make hubby go to the grocery for me... well, a woman can dream!!!
MammaNene @ SergerPepper.com
Thank you Irene! I'm laughing at your comment about the hubby =) Maybe try making a bag with cars or tools or golf clubs or footballs on it?? LOL
DeleteShelly that is fantastic, i might even give that a shot. Hope you got your wine & goodies!
ReplyDeleteThanks Claudette! You really should make one, or five! I bet there is camera print fabric out there! =P
DeleteAwesome bag, Shelly, and I noticed your very cool ironing pad cover (I love mine). Do you still sell them?
ReplyDeleteHi Susan! Thank you! Eeek, I was wondering if anyone would notice my iron board cover lol. It's definitely time for a new one (a little worn). I still have a few covers left for sale, I just don't have them up in my etsy shop. If you are interested let me know ;)
DeleteI'm loving this bag! I really need to give it a try!
ReplyDeleteThanks Cindy! Give it a try, you will become addicted to making them =) So fun & cute! They make great gifts too.
DeleteSuper cute and a great tutorial! I'd love for you to share it with us at Sewlicious Home Decor! http://sewlicioushomedecor.com/saturday-showlicious-craft-showcase-party-3. :)
ReplyDeleteMarti
Thank you Marti! Thank you for the invite to share the tutorial. I've added my link!
DeleteThanks so much for sharing this with us! I pinned it to the party board and the sewing board and Valentine board!! :)
DeleteMarti
I just saw your comment about wanting an invite to the boards, I would love to send you and invite, but I need the link to your Pinterest board....I have to follow it before it will let me add you. :) thanks!
DeleteMarti
Love the XOXO fabric you used and those last photos - his expressions are priceless! Thanks for linking to the Craftastic Monday party at Sew Can Do!
ReplyDeleteThanks Cheryl!
DeleteSuper cute! Lovely idea and yhje fabric is too gorgeous. Thanks for sharing this great tutorial! Would love to have you visit me sometime :)
ReplyDeleteHope you have a wonderful week!
Hugs from Portugal,
Ana Love Craft
www.lovecraft2012.blogspot.com
Thank you Ana. Heading over to visit your blog now!
DeleteHi Shelly Jack, found you via the Sewlicious Valentine's Community Board. Love this tote; the fabric is so bright and pretty! And your hubby is a good sport! Have a great day,
ReplyDeleteVal @ artsybuildinglady.blogspot.ca
Hi Val! Thanks for stopping by. Will head over to your blog and check it out!
DeleteMaybe I missed it - so sorry if I did - but what was the finished size of the tote? Thanks so much, I love the tutorial and will be making more than one.
ReplyDeleteHi Kaelyn, If you use the measurements I used the bag is approx 14" wide by 14" with 2" wide bottom. The handle drop is 10". Glad you love it! =)
DeleteThis comment has been removed by the author.
ReplyDeleteCheck out these sweet deals about weldable webbing [http://rosemonttextiles.com/weldable-webbing]
ReplyDelete